

I have been asked many times if DecoWrap could “return” back to the wall like a custom cornice. In creating the product, we made it as simple as possible so anyone could make a window treatment it in minutes. So while it was not designed to have returns, it can be accomplished in a few relatively simple steps. I have laid them out below, using a single 40″ cornice as an example to follow for measurements. You only need a few extra items besides DecoWrap foam cornices and fabric.

Cornice Measurement Adjustments
It is important to realize that by creating “returns” back to the wall, you loose much of the 40″ length. The return is created by cutting out a “V” shaped wedge which is 6″ wide. So in order to make a 2 1/2″ (inside) return, it takes away 8 1/2″ (2 1/2″ return + 6″ wide cut-out). Since you need returns at both ends, 8 1/2″ is doubled which equals 17″ . So a 40″ straight cornice will end up at 23″ (inside) dimension (40″-17″). It happened to be the perfect size for my bathroom window!
Note: If you connect the two 40″ cornices in the kit, the 80″ length would end up as 63″ (inside) dimension (80″- 17″). Then one last measurement to understand is the outside dimension. If the inside cornice measurement is 63″, the outside measurement would be +7″ or 70″. This is because the actual foam thickness is 3 1/2″ on each side.
Note: If you connect the two 40″ cornices in the kit, the 80″ length would end up as 63″ (inside) dimension (80″- 17″). Then one last measurement to understand is the outside dimension. If the inside cornice measurement is 63″, the outside measurement would be +7″ or 70″. This is because the actual foam thickness is 3 1/2″ on each side.
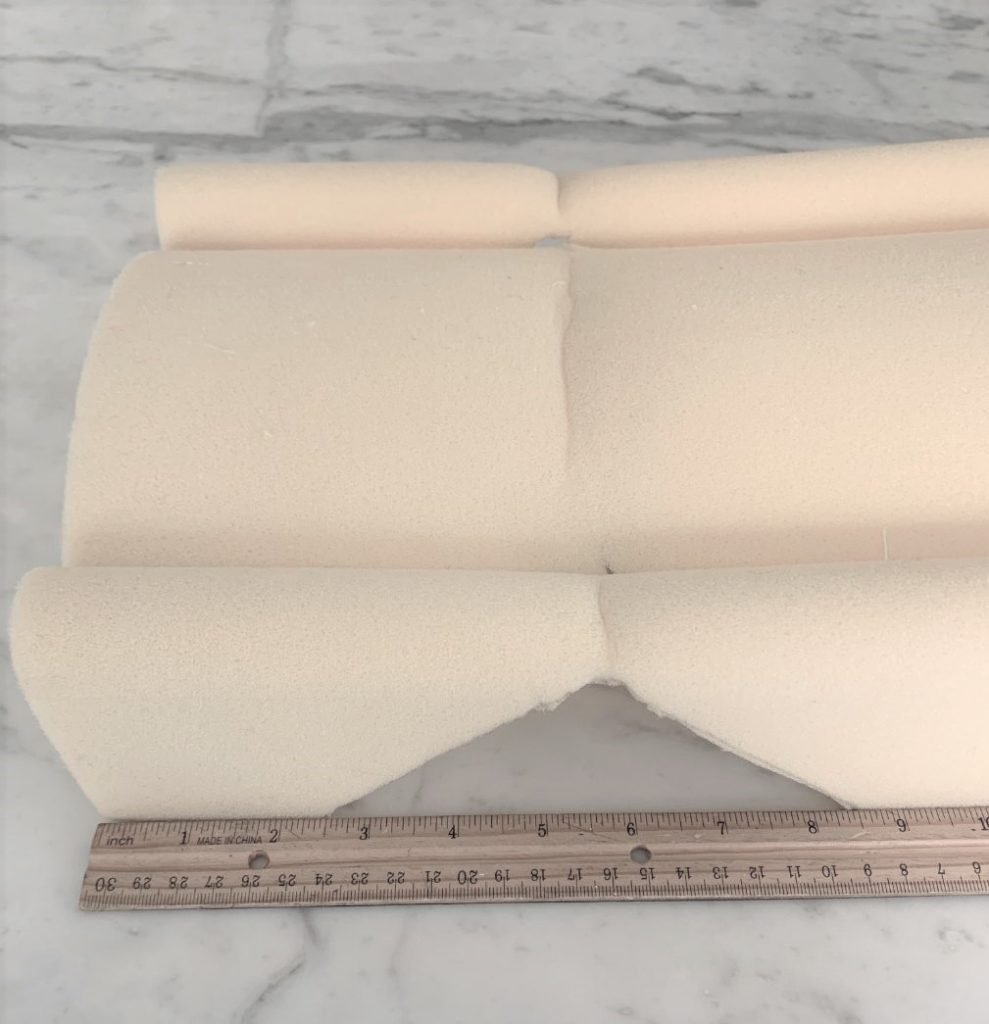
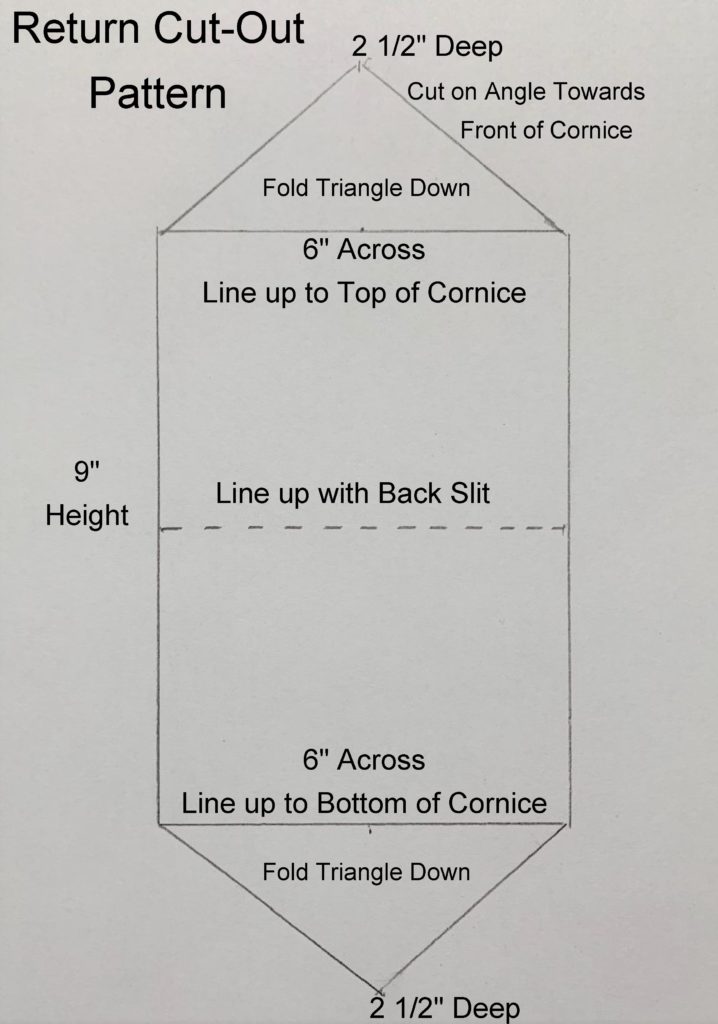
Cutting the Miter Wedge
The wedge is 6″ W x 9″ H x 2 1/2″ D (see below). When cutting down into the depth of the wedge on the angle, you cut from the back side. Be very careful not to cut all the way through the foam. The front remains in tact. As one piece, the foam can be easily folded into an L shape.
Wrapping The Fabric
Once you have cut out the wedges of foam, then you cover the cornice with fabric. The difference in wrapping the cornice is that you leave the side ends of the foam uncovered. They will be flush to the wall and will not show.
For calculating fabric length, add 1″ to the cornice length. Fold 1/2″ of fabric under on the ends, then tuck the fabric around the cornice into the pre-cut slits. Make sure the outside fabric edge is even with the ends of the cornice.
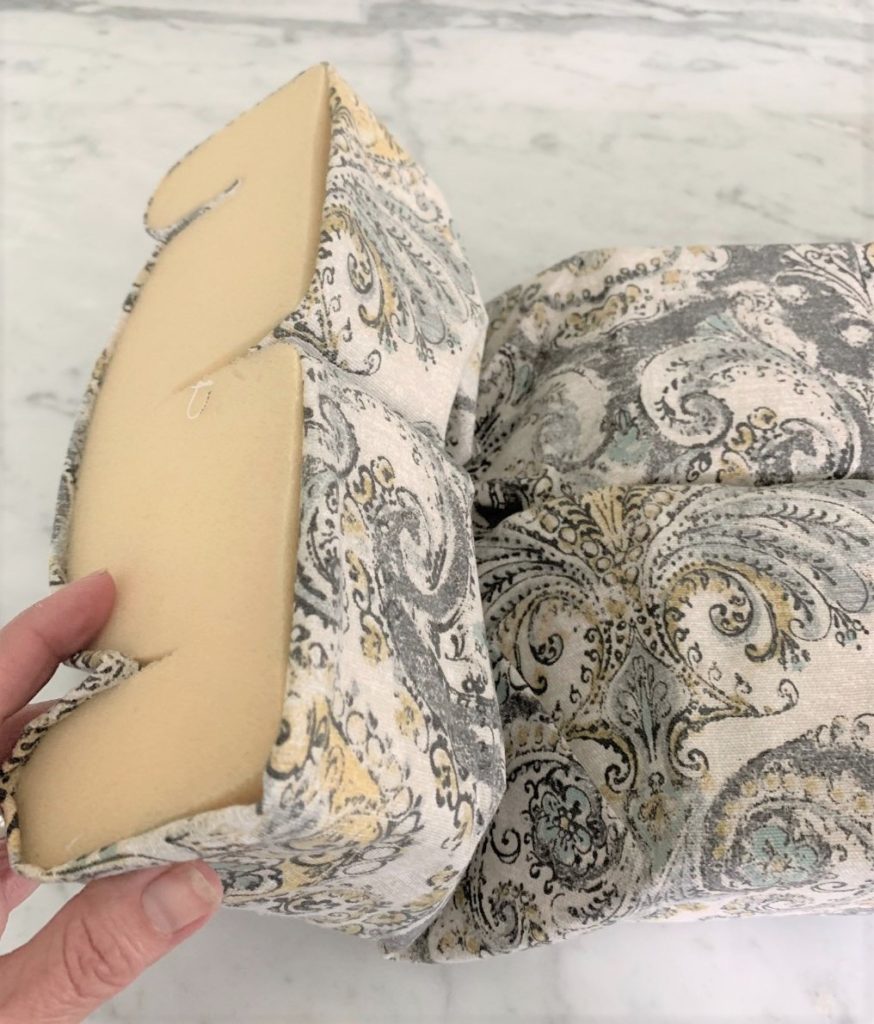
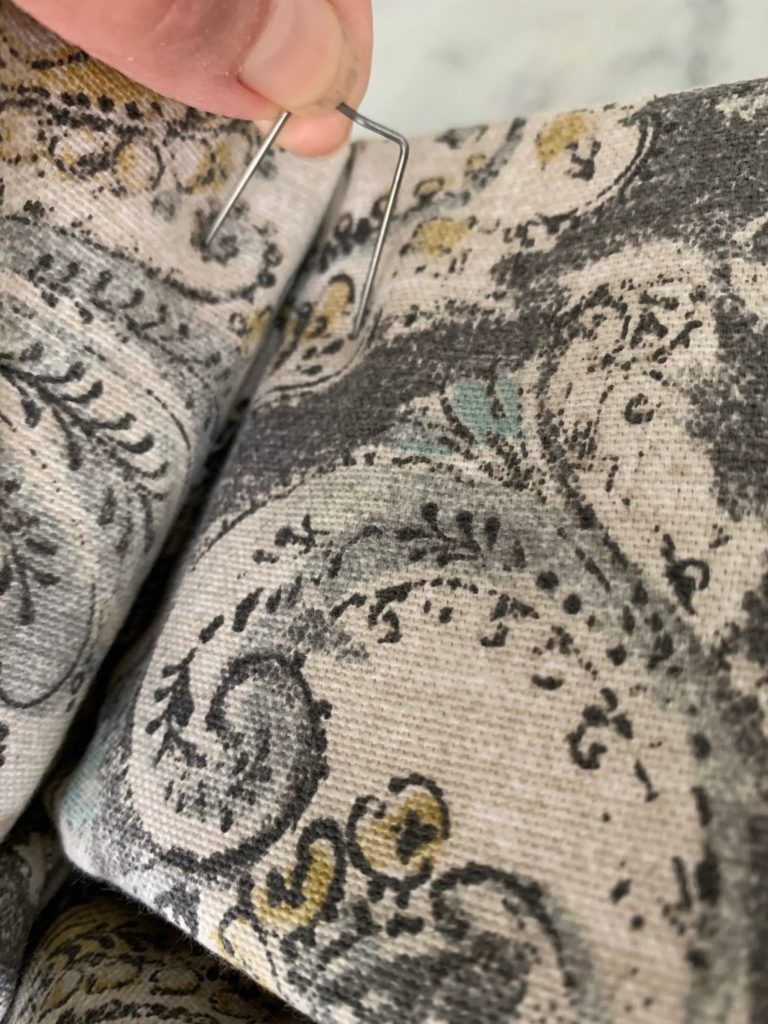
Fold and Secure the Elbow
When you fold the returns like an elbow, tuck the excess fabric at the inside corners into the mitered cut-out. Use floral craft pins to hold the return sides together. Insert pins top and bottom on each inside corner. You need at least 4 pins.
Installation
As long as your (inside) return is around 2 1/2″ or less, you can use the included P-screws for installing the cornice. If the returns are larger, I recommend L-brackets which are available in different lengths. The type of brackets used to install vertical blinds are a good choice.
Well, that about covers it. Good luck and happy decorating!