I began my career over twenty-five years ago designing and selling custom window treatments and I must say, the ready-made market has come a long way since then. But even today, with the variety of options available, custom made window coverings are just more desirable. They offer the consumer unlimited design possibilities with a much higher end look. The obstacle for most is the high cost that comes along with custom.
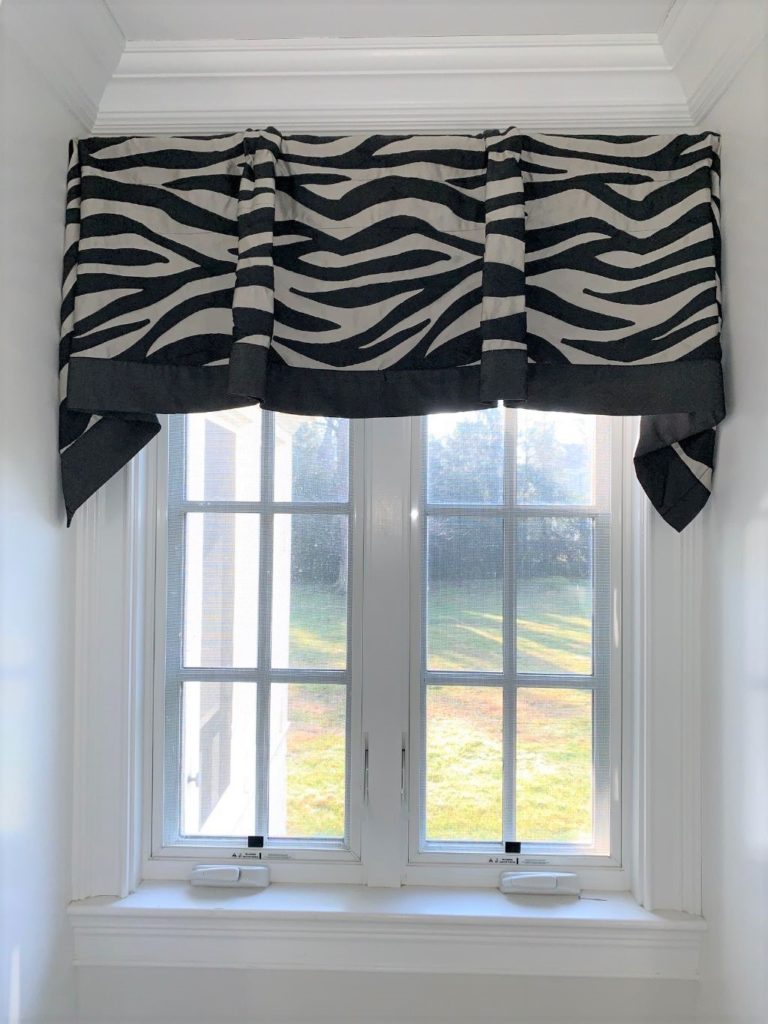
So what do you do if you can’t spend the money on custom window treatments? I like to share my ideas on how to get a custom designed look without spending a fortune. There are certain creative things you can do to get professional looking results, even if you are not so crafty. Here is an example of how I turned a basic store bought rod pocket valance into a custom (looking) Empire Valance, complete with pelmets and jabots.
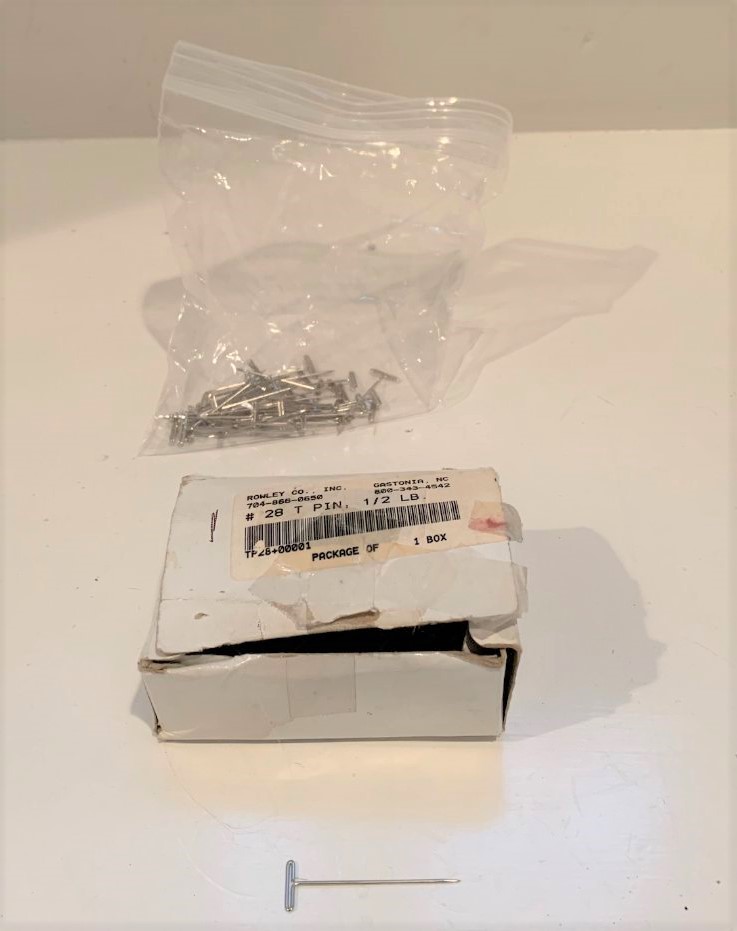
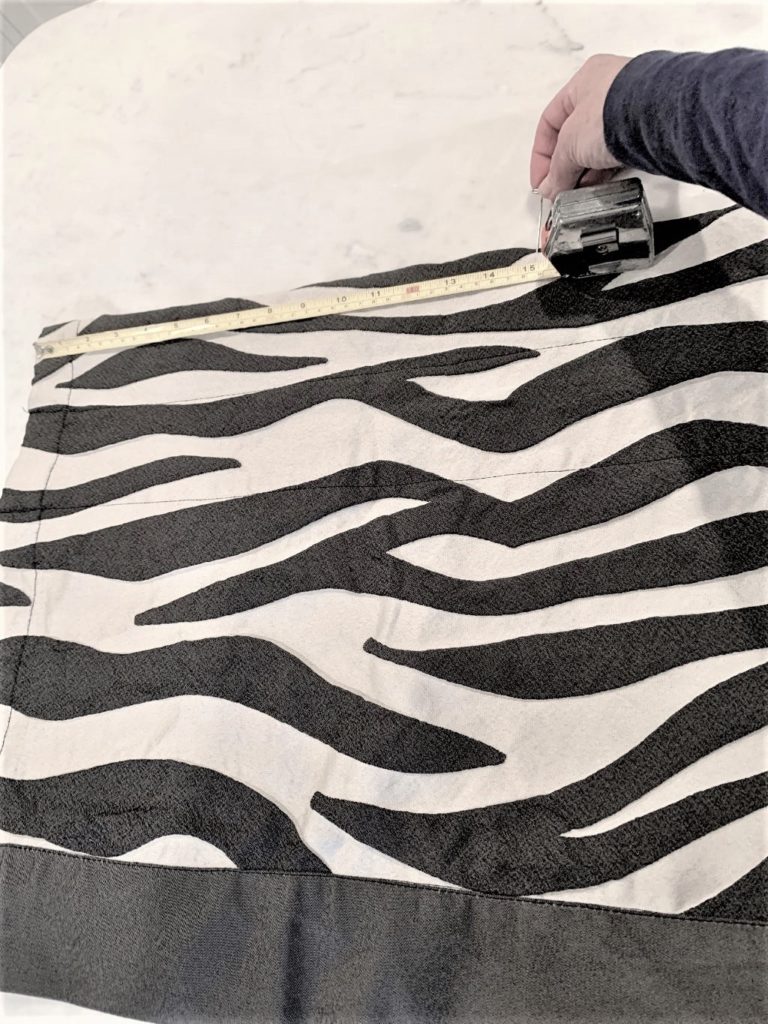
To figure out how to divide the fabric to create the look, I started by shirring the valance on a rod. I used a tension rod since my window recessed between cabinets. I let both sides hang down off the rod, as these would be my jabots (tails). I played with different lengths to see what would look good while also making sure I had enough excess to work with across the window. When I liked the length, I folded the fabric back on itself on one side and pinned it in place. I like to use t-pins. This would keep the fabric in place so I could take it down to mark and measure how much fabric I needed for the other side.
I marked the top corner at the end of the rod. Then I took the treatment down and measured how much fabric the jabot (tail) required. I measured the opposite side and marked the same measurement so they would be the same length.
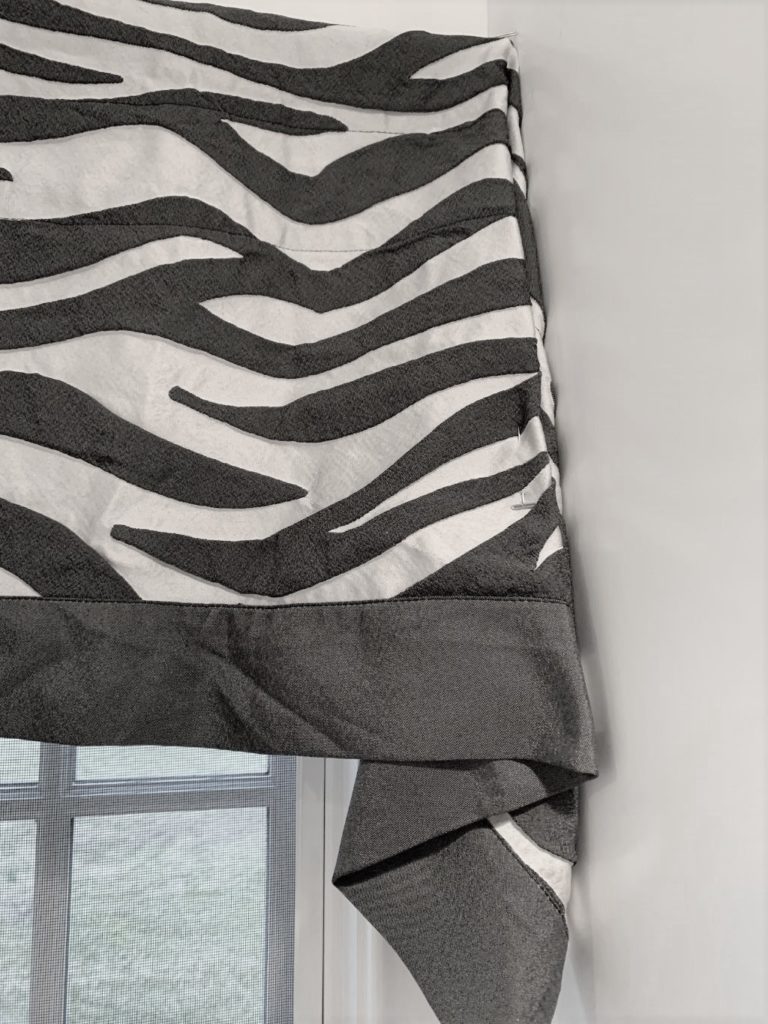
Next, I folded the valance in half and marked the middle with a pin. Then I shirred it back onto the rod and put it up. I made sure the fabric was centered between the end marks so both jabot (tails) were hanging off the rod at equal lengths. I fan folded the jabot (tails) so they looked similar. Then I centered the pin to the center point of the window. To create the pelmet pleats, I gathered the fabric to the center at each side, making sure to keep the center pin in the middle. I gathered the fabric at the top so the remaining fabric lay flat across the rod on both sides. Once I liked the look, I pinned it from behind. Then for the finishing touches, I used my portable steam iron to remove the wrinkles set the style in place.
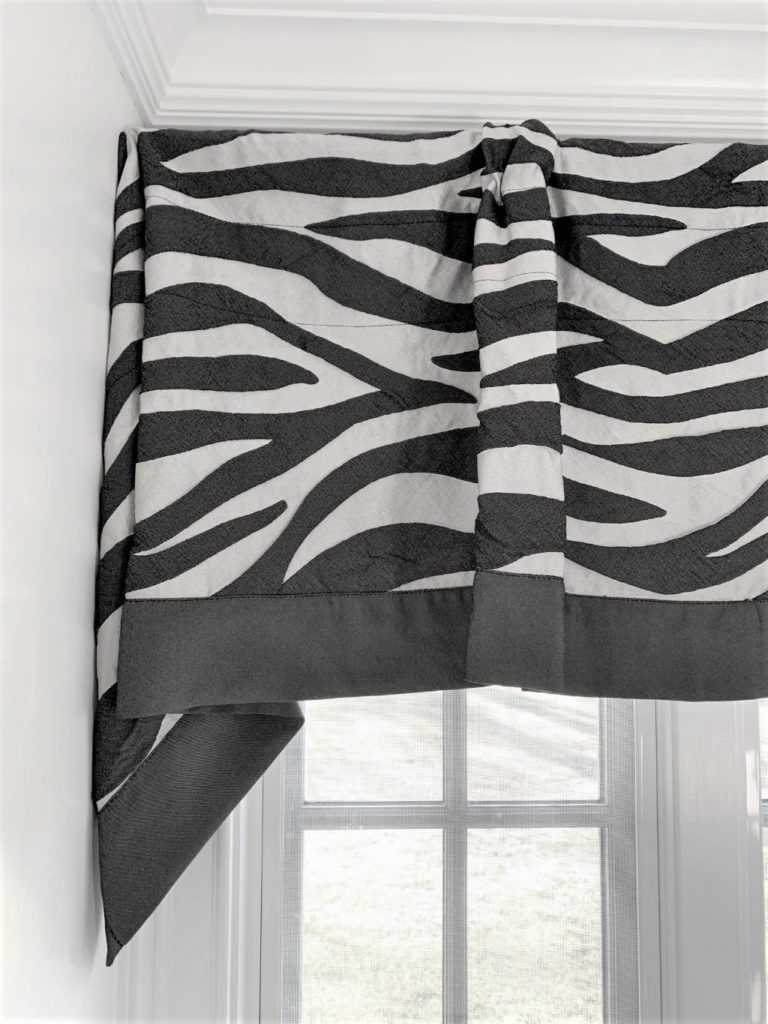
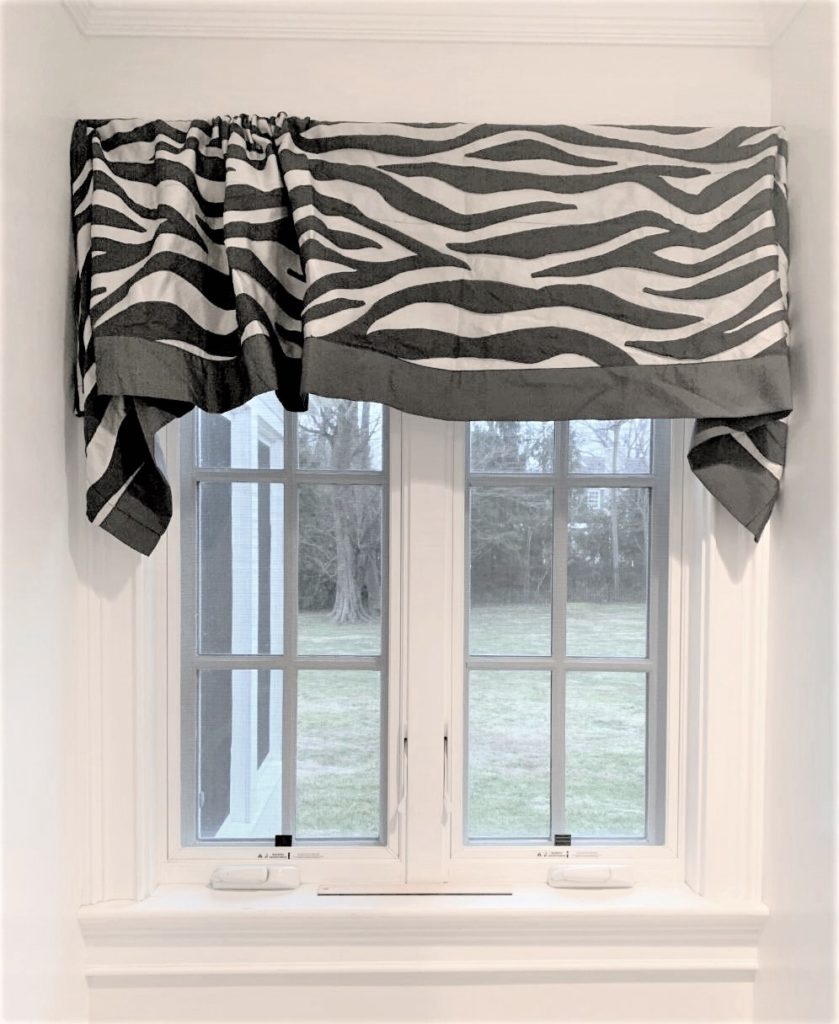
Voila!